Trimming Your Bird’s Flight Feathers: A Safety Guide
Trimming Your Bird’s Flight Feathers: A Safety Guide
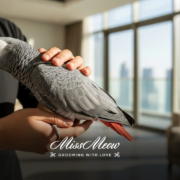
The afternoon sun is brutal against the floor-to-ceiling windows of my apartment in Business Bay, turning the living room into a light-filled oven. My African Grey, Jasper, is currently perched on his stand, tracking a delivery drone buzzing past the balcony with intense, golden-eyed focus. When he suddenly takes flight, he doesn’t just soar; he gains enough momentum to clear the span of the room in seconds, almost clipping a ceiling fan that was spinning at low speed. It is a moment that reminds any bird owner in the UAE that a flighted bird in an apartment is a high-stakes situation.
Trimming your bird’s flight feathers: a safety guide is essential reading for those of us living in the urban jungle of Dubai. While the debate regarding flight versus clipped wings is ongoing, many residents opt for a light trim to prevent accidental collisions with mirrors, glass doors, or open kitchen hazards. This procedure is about limiting altitude and speed rather than removing the ability to glide to the floor safely. If you are struggling with the logistics of managing a high-energy bird in a small living space, you might find that mobile pet grooming in Dubai can provide professional guidance on how to handle these delicate grooming tasks safely.
Understanding the Mechanics of Wing Clipping
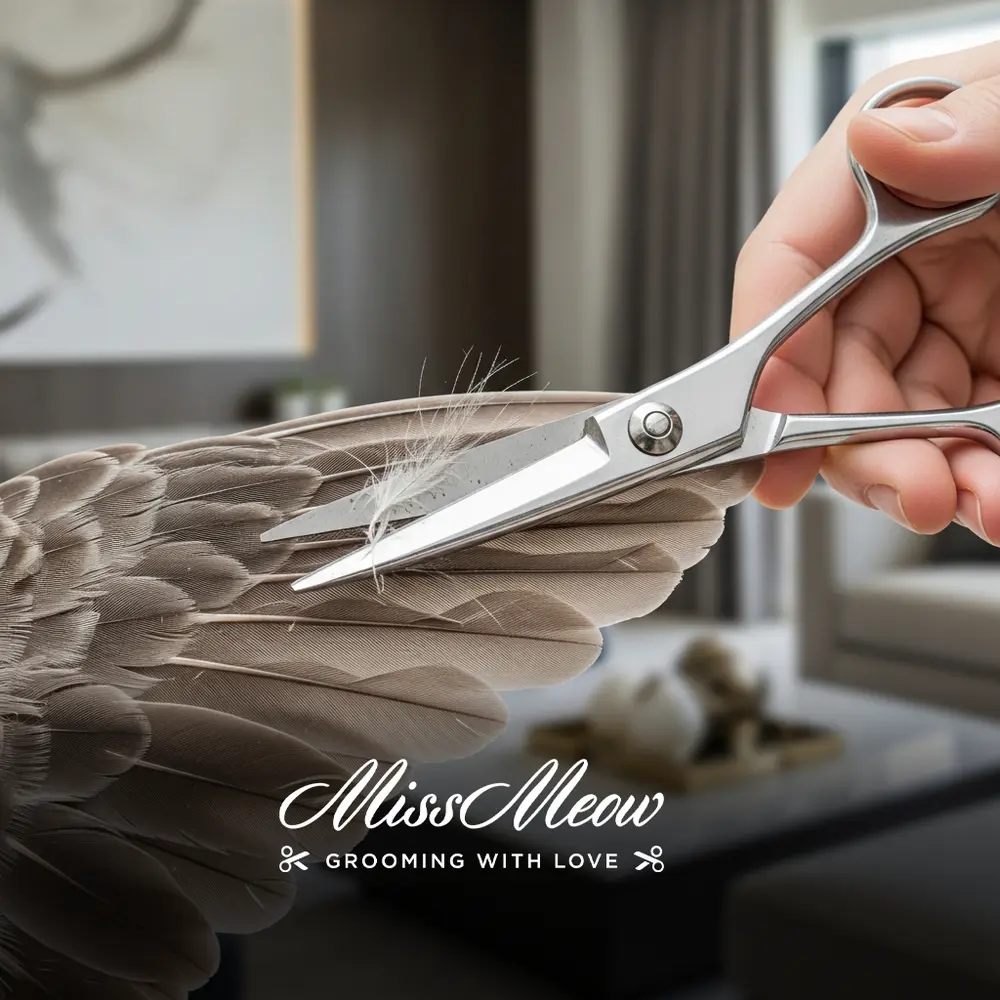
Many people assume that clipping feathers is like cutting hair, but it is actually much closer to trimming fingernails. You are only working on the primary flight feathers, which are the outermost ones responsible for providing lift. When these are shortened, the bird can still flap its wings to descend gracefully to the ground, but it cannot gain the height required to fly away from a human or hit a window at full speed.
In my experience with anxious birds, the process itself is far more stressful for the human than it is for the companion animal. If you go too fast or show hesitation, the bird picks up on your heart rate and becomes jittery. You need to focus on a symmetrical cut, taking off only the tips of the first five to seven primaries. This ensures the bird stays balanced in the air. If you clip unevenly, the bird might veer to one side when it tries to glide, leading to a nasty tumble instead of a controlled landing.
The climate here in the UAE makes flight management even trickier. We keep our doors and windows sealed for the AC, but those balcony doors in Marina apartments are always a potential escape route for a startled bird. A bird that can gain altitude is a bird that will eventually find that one inch of space between the door frame and the screen. Keeping those primary feathers trimmed is a basic safety protocol for anyone who values the security of their household.
Preparing Your Bird for a Stress-Free Session
Before you even pick up the scissors, ensure you have a calm environment. A quiet room with dimmed lighting often helps a bird settle down. I prefer to use a soft towel to gently restrain the bird, which keeps their wings from flapping uncontrollably and protects them from accidental injury. Never rush this part of the process. If the bird is panting or visibly stressed, stop immediately. You can always try again after an hour when everyone has had a chance to calm down and enjoy some millet.
Proper tools make a significant difference. Use sharp, high-quality shears that won’t pull on the feathers. Dull scissors can fray the shaft of the feather, which causes unnecessary discomfort and makes the next molt process difficult for the bird. You want clean cuts that look neat and tidy. While some owners manage this alone, many prefer to have a second person hold the bird securely while they perform the trim. Remember that Missmeow Grooming offers expert handling if you feel that your bird is too skittish for a home-based trim.
Managing the Molting Cycle and Feather Growth
Feathers are not permanent, and they grow back according to the bird’s natural molting cycle. This means your flight feather maintenance is not a once-a-year event. You need to check the wing condition regularly, perhaps once a month, to see if new feathers have emerged. These new feathers are called blood feathers because they have a vein running through the shaft to supply nutrients for growth.
If you accidentally trim a blood feather, the bird will bleed profusely. It is a frightening sight, but keeping a styptic powder or cornstarch nearby is a lifesaver. Apply the powder directly to the tip of the bleeding shaft and maintain pressure until the clotting starts. This is exactly why you must be extremely cautious around feathers that are still encased in their protective sheath. If the feather is still growing, leave it alone until it has fully hardened.
Many owners here find that their bird’s grooming needs fluctuate throughout the year. When the humidity drops during the cooler months, birds tend to preen differently, and you might notice their feathers becoming more brittle. Monitoring these subtle changes ensures that you aren’t cutting into a feather that is sensitive or structurally compromised. If you find your pet also needs extra care like cat grooming services or help with other domestic pets, keep a consistent schedule to manage all their hygiene needs.

Safety Hazards and Prevention in Dubai Homes
Living in a high-rise in Downtown or a villa in JVC presents unique challenges for flighted birds. Our homes are full of hard surfaces. A bird flying at full speed in an open-plan kitchen can easily shatter its keel bone if it hits a granite countertop or a stainless steel fridge. Trimming your bird’s flight feathers: a safety guide really comes down to acknowledging that our homes are not natural habitats. We have to modify the environment to ensure our birds stay safe.
Some people choose not to clip, which is perfectly fine, provided you bird-proof every room. This means covering mirrors with decals so the bird knows it is a solid surface, keeping the ceiling fans off while the bird is out, and being hyper-aware of where your feet are when walking. If you decide to go with flighted status, ensure your bird is trained to recall reliably to your hand or a perch. Without recall training, a flighted bird in a UAE apartment is an accident waiting to happen.
There is no shame in choosing to clip for safety. It allows the bird more freedom to explore the room without the constant risk of injury. I have seen too many birds end up at the emergency vet with broken wings after a simple miscalculation of flight speed. A well-executed trim gives them enough lift to get down to the floor safely, but not enough to reach the ceiling, which is the perfect middle ground for indoor life.
Professional Grooming Versus Home Trimming
If you are new to owning birds, the prospect of holding a nervous parrot can be intimidating. Professional groomers have the advantage of experience; they know how to read body language and how to make the process swift. When you look for help, check the reviews and ask about their specific experience with your bird’s species. Some birds are quite stoic, while others require a much more gentle, tactile approach to keep them from panicking.
Many pet owners in the city find that using a dog grooming van in Dubai can sometimes lead to referrals for specialized avian care, as these professionals are well-connected within the local pet-care network. Do not be afraid to reach out to local bird clubs or vets to ask for recommendations. Expert handling ensures the bird’s stress levels remain low and the trim is done with precision, leaving the bird feeling secure rather than violated.
When you take your bird for a professional session, take the time to watch how they handle the bird. You will learn a lot about how to hold your own pet more effectively. It is a chance to see how they check the wing structure and ensure no blood feathers are in danger of being cut. Always ensure you understand Miss Meow pricing and packages so you know exactly what is included in the session, as transparency makes the experience much smoother for everyone involved.
FAQ: Bird Grooming Essentials
How do I know if a feather is a blood feather? You can spot them by the dark, purplish tint at the base of the shaft. They are usually found in areas where the bird is currently molting. If the feather is still encased in a white, waxy sheath, definitely keep your scissors away from it until that sheath has flaked off and the feather has matured.
Can I trim the feathers myself at home? Absolutely, but only if you feel confident and your bird is relaxed. Start by having a helper hold the bird in a towel to keep the wings steady. If your bird shows signs of extreme aggression or fear, it is better to skip the trim or pay a professional to do it. The goal is to keep the bird safe, not to traumatize it for the sake of a quick cut.
How often should I trim my bird’s flight feathers? It usually aligns with the molting process, which happens once or twice a year depending on the species and the indoor climate. Check the wings every few weeks. If you see new, long feathers growing in, it might be time for a touch-up. Every bird is different, so keep a log of when you last trimmed them to get an idea of your bird’s individual growth cycle.
Is there a risk that my bird will feel insecure after a trim? A bird that has been flighted its whole life might feel a bit vulnerable the first time it realizes it cannot reach the high perches easily. Give your bird time to adjust by lowering their play stands or adding ladders so they can still get around independently. It is all about giving them the confidence to navigate the house while keeping them away from the high-velocity hazards that could cause serious injury.
Moving Forward With Your Bird’s Care
Maintaining a safe home for your bird requires a commitment to routine observation and gentle handling. Whether you decide to perform the trims yourself or rely on expert help, keep the safety of your bird at the forefront of your decision. A little bit of maintenance goes a long way in preventing those heart-stopping accidents that keep us all up at night. If you have been hesitant about the process or feel like you need a helping hand, please reach out to book a pet grooming appointment to ensure your bird receives the specialized care they deserve.
Remember that your bird relies on you to create a safe environment. By keeping their flight feathers at a length that allows for controlled gliding rather than full-speed flight, you are giving them the best of both worlds. They stay mobile, they stay active, and most importantly, they stay out of harm’s way in your home. Take your time, stay patient, and always prioritize the well-being of your feathered companion above all else.